29
Apr 2019
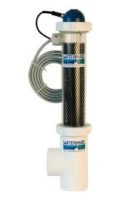
How to install the Watermaid EZ300 Cell
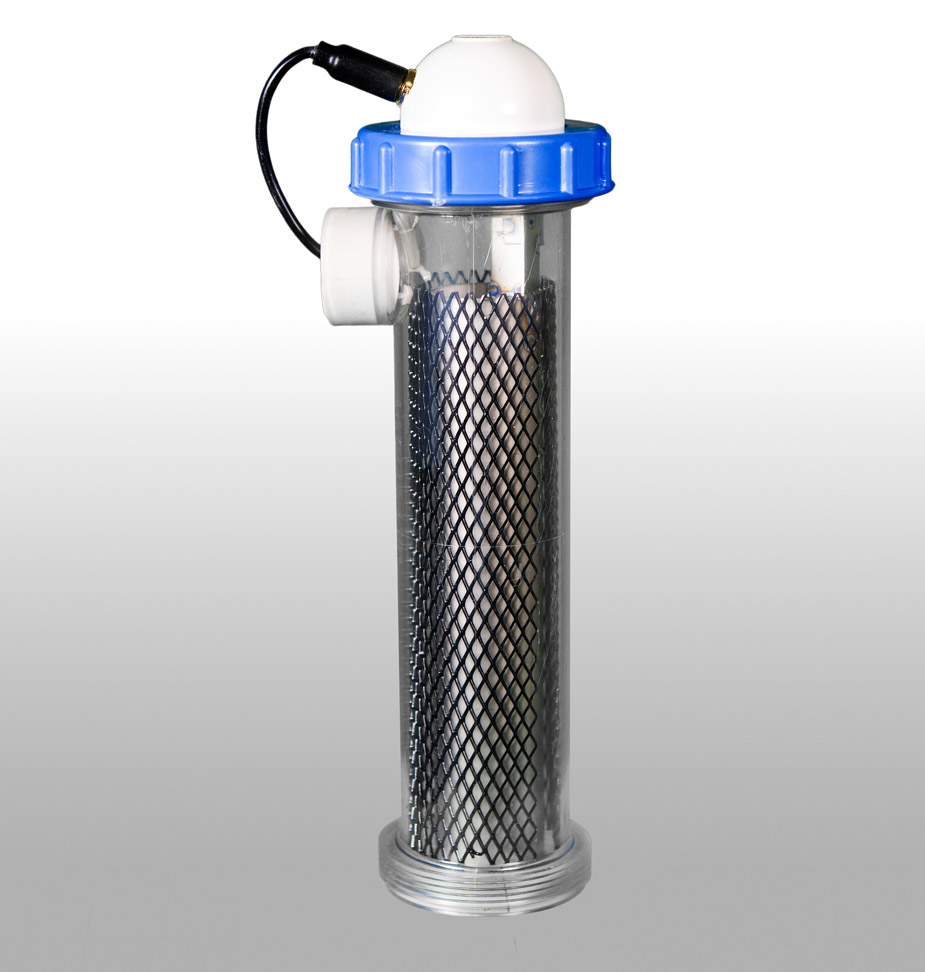
The Watermaid cell comes with all of the parts of the cell and the grey cable that connects it to the power supply. Please note that the white venturi assembly at the bottom of the cell that connects it to the plumbing is sold separately
Removing the cell
1/ Turn off the power to the system using either the switch on the bottom of the unit or the circuit breaker for the circuit.
2/ Lift the power supply off of its hanging bracket. Be careful the power supply is fairly heavy. You don’t want to drop it.
3/ Turn the unit upside down and rest it on a secure flat surface so that you can work on the bottom of the unit.
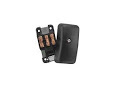
4/ You will see the grey cable from the cell go under a black plastic cap.
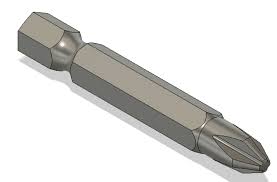
5/ Using a #2 phillips screwdriver, remover the single screw that secures the black plastic cap.
6/ Pull the black plastic cap off of the terminal block
7/ Back off the silver cable retaining clip and either remove it or rotate it out of the way
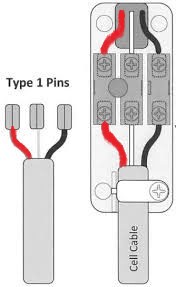
8/ At this point you need to make a note of the colour of the wires that are attached to the terminal block. The Watermaid cell is powered by DC current and you need to attach the new cell the same way that the old cell was removed or it will not work.
9/ Using a common screwdriver, back off the three brass screws that secure the red, white and black wires that come from the grey cable.
10/ Gently pull the wires out of the terminal block.
Installing the cell
11/ Install the red, white and black wires of the replacement cell in the same position as the removed cell and tighten the three brass screws..
12/ Install the silver cable retaining clip and tighten it
13/ Install the black plastic cap and tighten the retaining screw
14/ Hang the power supply back on the wall
15/ Power up the Watermaid unit. Turn on your pool pump and check that the lights on the front of the box come on and you can adjust the output of the unit.
16/ You are Finished